Arm tattoo ideasFrom a single piece to a sleeve.
Explore arm tattoo ideas through botanical flowers, illustrated animals and geometric ornaments. Compare the area you want to cover before selecting the level of detail.
More about this selection
An outer-arm piece reads differently from an inward-facing design. If you already have tattoos, consider the gaps between them. Your artist can help create a consistent rhythm around the volume of the arm.
Arm tattoo ideas on skin
Light, medium and dark skin tones, different proportions and placements: compare how each motif sits on the body. These images are simulations created with our AI.
Botanical peony
A peony opens on the upper arm, with leaves extending the composition around the petals.
PersonaliseGeometric ornament
An ornament built around a clear centre, with spaces that follow the curve of the arm.
PersonaliseCompass and mountains
A structured compass and a freer mountain outline echo one another along the biceps.
PersonaliseKoi and peonies
The fish connects waves and flowers with its curves: a starting point for a continuous arm composition.
PersonaliseAn olive branch in motion
A fine branch follows the volume of the arm. Spaced leaves keep the motif clear.
PersonaliseMore designs to explore
Try another direction: start with a line, a silhouette or a colour, then adapt the design in the studio.
A roaring black panther head
PersonaliseAn antique pocket watch with a rose and Roman numerals
PersonaliseOne large elegant peony bloom with flowing botanical leaves
PersonaliseA mountain range in thin lines inside a triangle
PersonaliseA hummingbird flying beside a hibiscus flower
PersonaliseA koi fish surrounded by waves and cherry blossoms
PersonaliseArm tattoo ideas: shaping your project
Define the edges of your project first. A localised flower, a framed portrait and a wraparound ornament use the arm differently. Think about both the main motif and the space it leaves around it.
An outer-arm piece reads differently from an inward-facing design. If you already have tattoos, consider the gaps between them. Your artist can help create a consistent rhythm around the volume of the arm.
Explore tattoo meanings →Three directions to compare
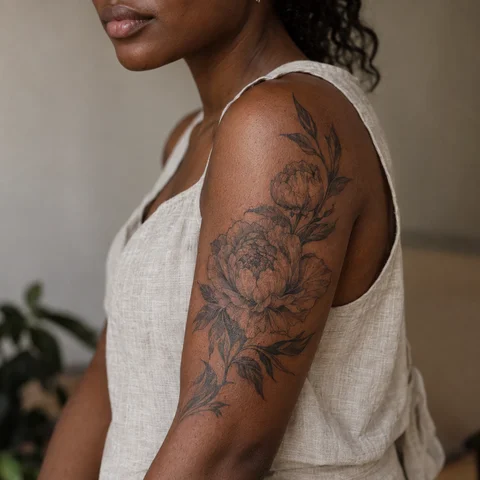
Fine line and open space
A fine outline brings attention to the silhouette and the skin around it. Start with a clear subject and agree on the scale and spacing with your artist.
Explore this direction →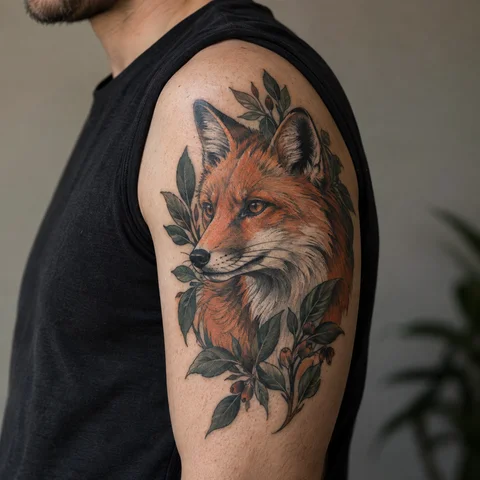
Illustration and colour
Strong outlines organise the colour. A limited palette can help the separate forms remain distinct.
Explore this direction →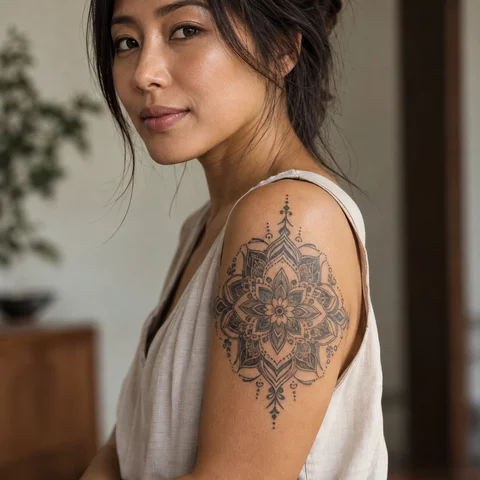
Geometry and repetition
A clear centre, repeated shapes and carefully spaced lines create structure. Check the symmetry against the curve of the body.
Explore this direction →Where should your tattoo go?
Upper arm
Compare the outline at its actual size on the upper arm. Check both the main subject and the space around it.
Inner arm
Look at the placement in a relaxed position and as you move. Discuss the direction and proportions before adding smaller details.
Towards the forearm
Decide how visible you want the tattoo to be with your everyday clothes. Keep any future additions in mind when defining its edges.
More directions for your project
From the first design to your appointment
Clarify your reference
Keep a few images and explain what you like about each: the subject, linework, scale or placement. A reference starts a conversation; it is not a finished stencil.
Choose an artist for the style
Look at the artist’s own work, including healed examples where available. Discuss the intended dimensions, placement and any text before requesting a quote.
Check the final drawing
Review the stencil at its actual size and in several natural positions. Read names and dates character by character before approving them.
Prepare the appointment and aftercare
Ask your tattoo artist for preparation and aftercare instructions tailored to the session. The images here cannot determine what is suitable for your individual skin.
What if your next tattoo
started with your words?
Choose a direction, change a detail and create your own reference with Encre Vive.
Create my tattooView plans and creditsYour questions answered
01How can I connect several tattoos on my arm?
Look for a shared contrast, spacing or line style. Bring photos of the existing pieces so your artist can plan the spaces and transitions as well as the new motif.
02How much will this tattoo cost?
Size, detail, placement and the artist’s work determine the quote. Bring your references and intended dimensions: an image alone cannot give a reliable price.
03How can I personalise these designs?
Choose a reference to open the studio, then change its description and style. Replace example names and dates with your own information and verify every character.
04Are these photographs of real tattoos?
These are original simulations generated with our AI. Use them to compare ideas and placements, then prepare the final drawing and its adaptation to your skin with a tattoo artist.